White balance
-
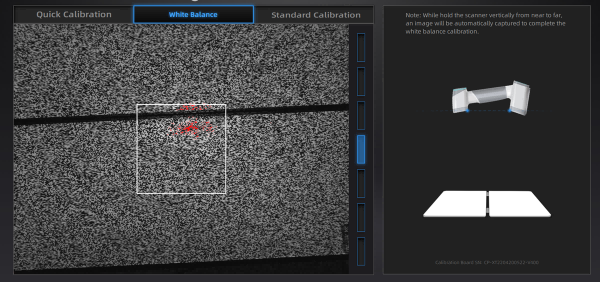
Place the calibration board on a horizontal flat surface with its back site (white) lying towards up.
-
Hold the scanner face to the center of board in upright position.
-
Press the scan button on the scanner to start calibration.
-
Keep moving the scanner up and down slowly until the scanner takes a photo automatically, which indicates that the distance is optimal.
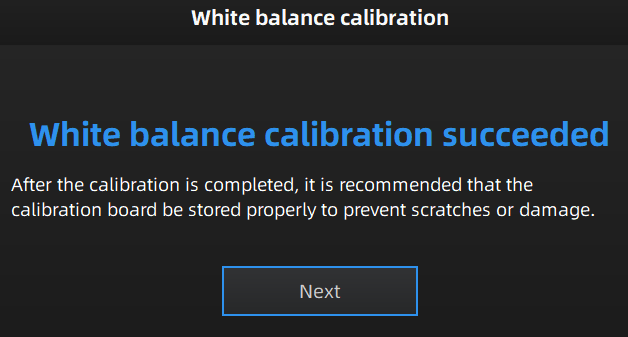
After finishing the white balance calibration, click Next on the following pop-up for entering the scan mode.
Note
-
Do not do white balance or scan under strong light, it may cause color deviation.
-
If white balance fails, please try it again.
-
If you cannot get the pass result anyway, please contact your supplier or our support team.