Add Drain Hole
Auto Drain Hole
When there are internal or enclosed hollows appearing on model, the liquid pressure will be unequal inside and outside of the model during printing process, which may lead to striations on the print, or even the print failure.
To fix the issue, complete the following steps to generate drainage holes allowing resin to escape:
-
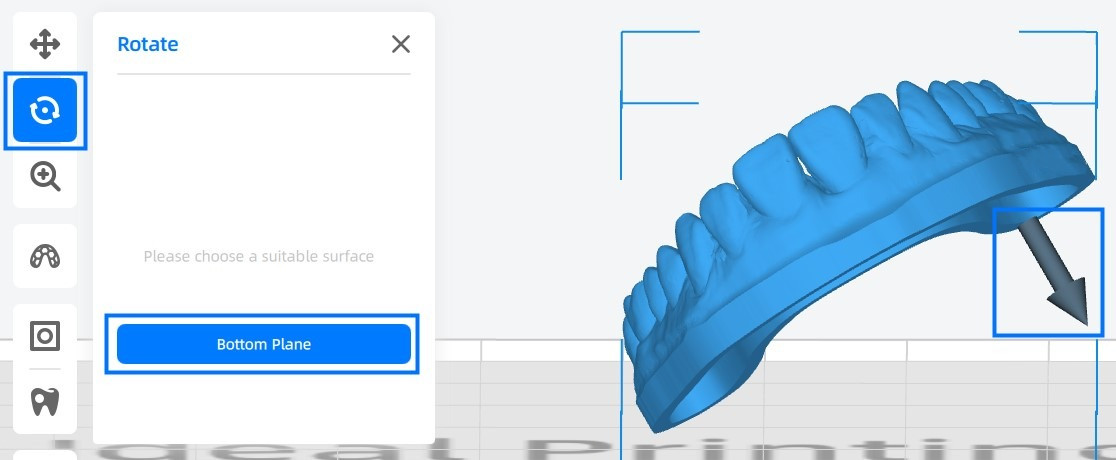
Enter the Layout interface, select model and click
 .
. Click Stick To Platform, then click a flat surface to put the model directly on the printing platform.
-
Click
 and set a proper diameter according to the size of model, virtual drain holes will be added to the model for your reference.
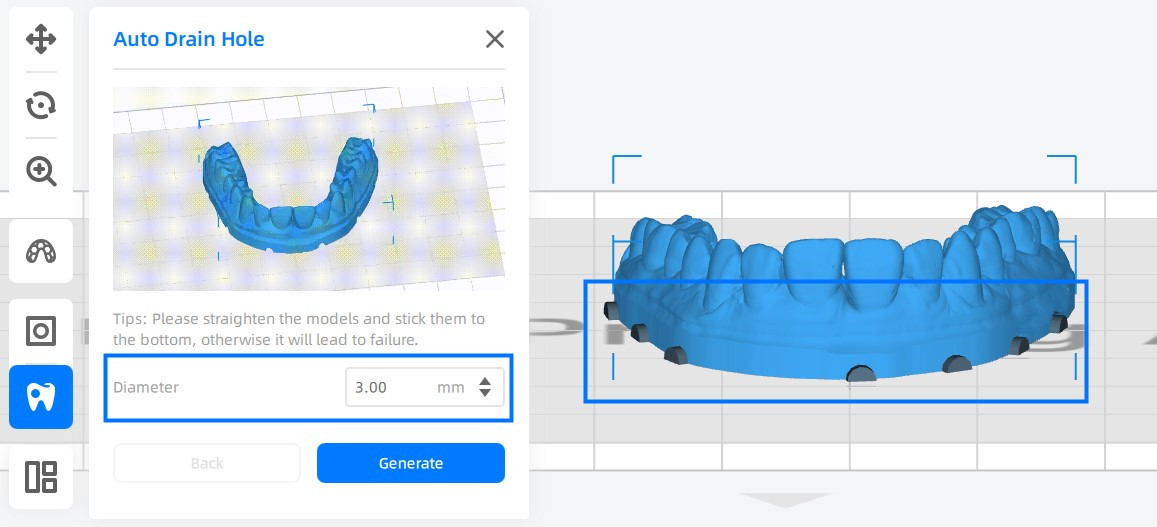
-
Adjust the diameter until the virtual drain holes are satisfactory, then click Generate.
Note
Auto Drain Hole default to the ideal way for dental model drain hole settings. Except for those extreme complicating models with high suction risk, there is no need to adjust drain holes manually.
Manual Drain Hole
Complete the following steps to design drain holes for complicated hollow structure manually:
-
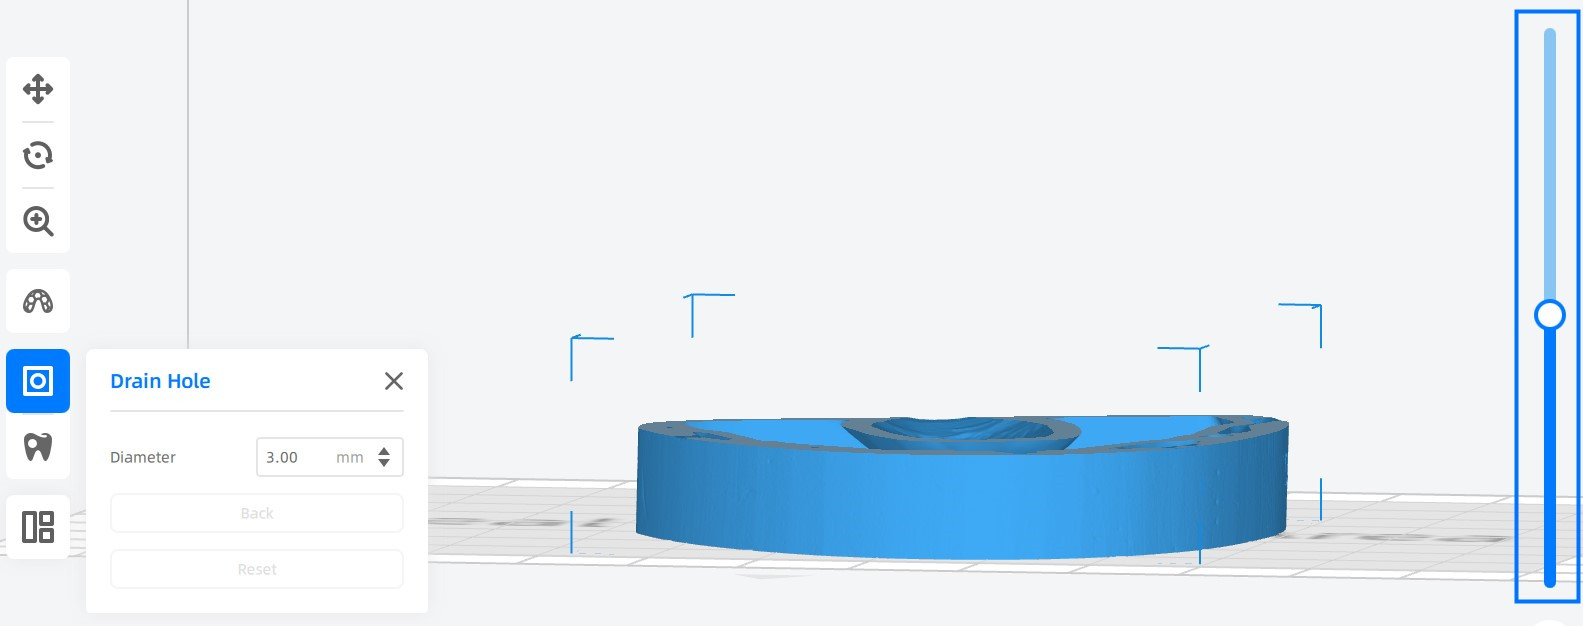
Select the model, click
 to enter Drain Hole Mode.
Check layers and try to better understand the internal structure of models.
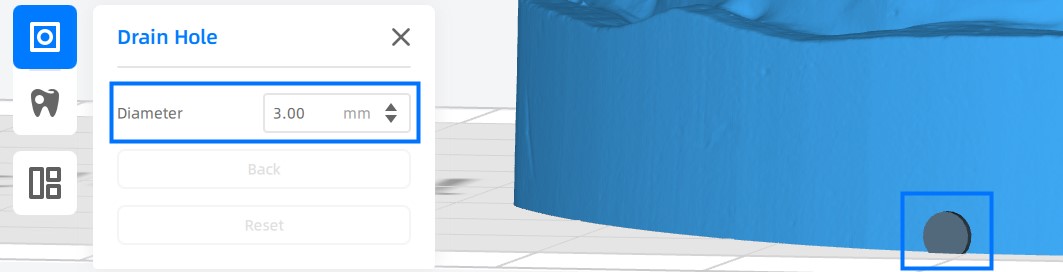
-
Input a proper diameter for drain holes to be added and click Enter key.
Move the cursor onto the lowest point of hollow, the cursor turns into a gray round point, indicating the hole to be added.
Note
To preserve the aesthetic or functional appearance of the model, sometimes you may also consider to place holes discreetly or incorporate them into other features.
-
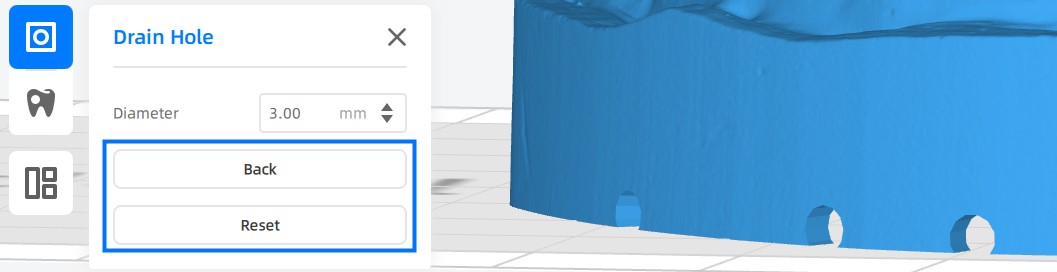
Click on the surface of model to add drain holes.
You can undo any changes and redo them by using Back or Reset button if you change your mind.
Caution
After clicking, the system will try to calculate coordinates for the drain hole according to the position of cursor.
Keep cursor still during the calculating, or the drain hole will deviate from the intended position.