Add Support
Support structures are usually added for reinforcing overhanging, bridges and other delicate features.
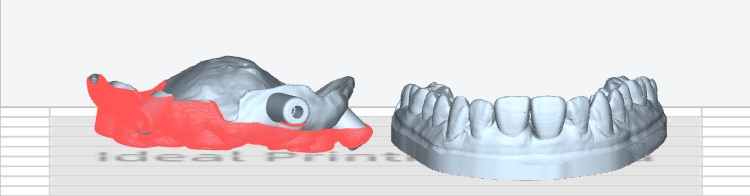
Before adding support automatically, you should first check out whether it is needed to add supports on current model by using the slicer tool:
If the model is entirely self-supporting , you should skip adding supports and generate slicing file directly.
If not, the defective structure will be marked in red after entering Support interface. Follow the guide to completing adding support:
-
Select the model in need of support, than click
 .
.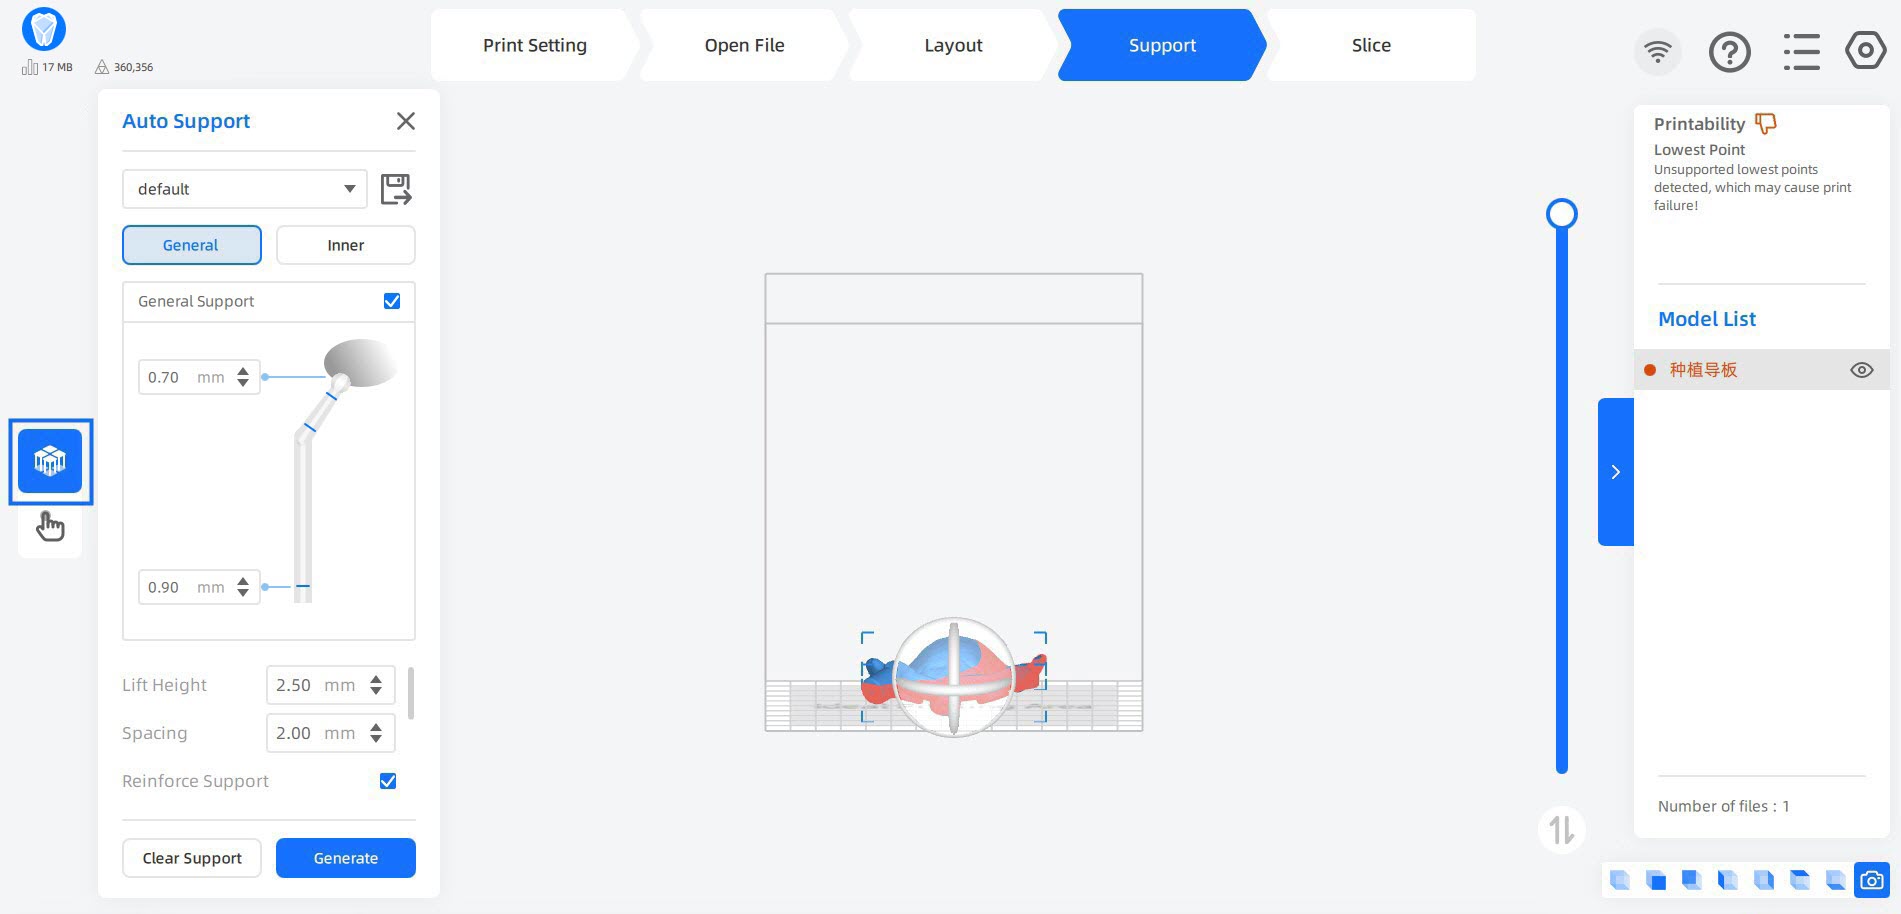
Caution
Preset parameters on the Auto Support popup default to the ideal way for dental model support settings. Any improper changes may result in print failure.
If you still want to customize your support, first read Support Setting content carefully.
-
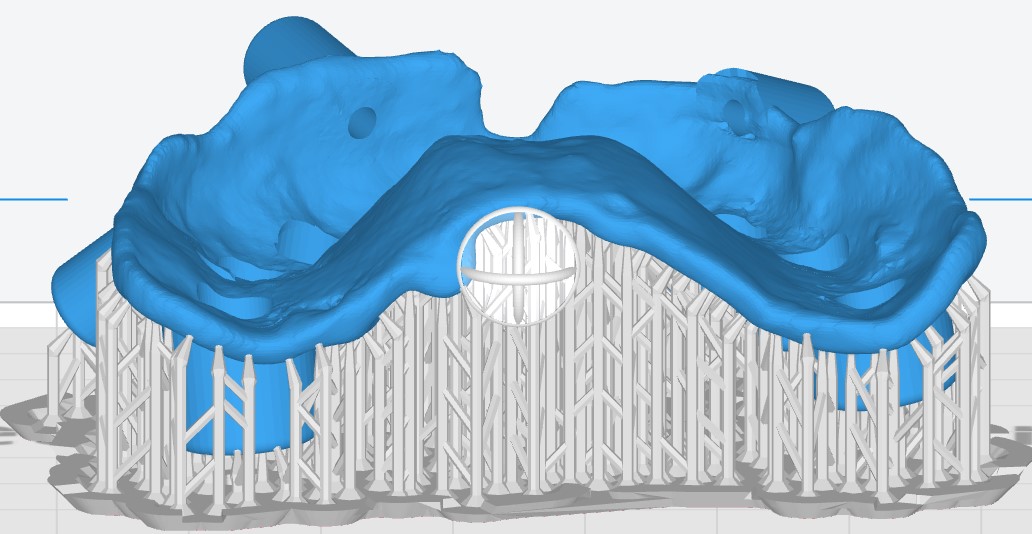
Click Generate, the system will automatically places supports on where they are needed.
-
Click
 to enter the manual support mode, check the auto-support effect by using slicer tool.
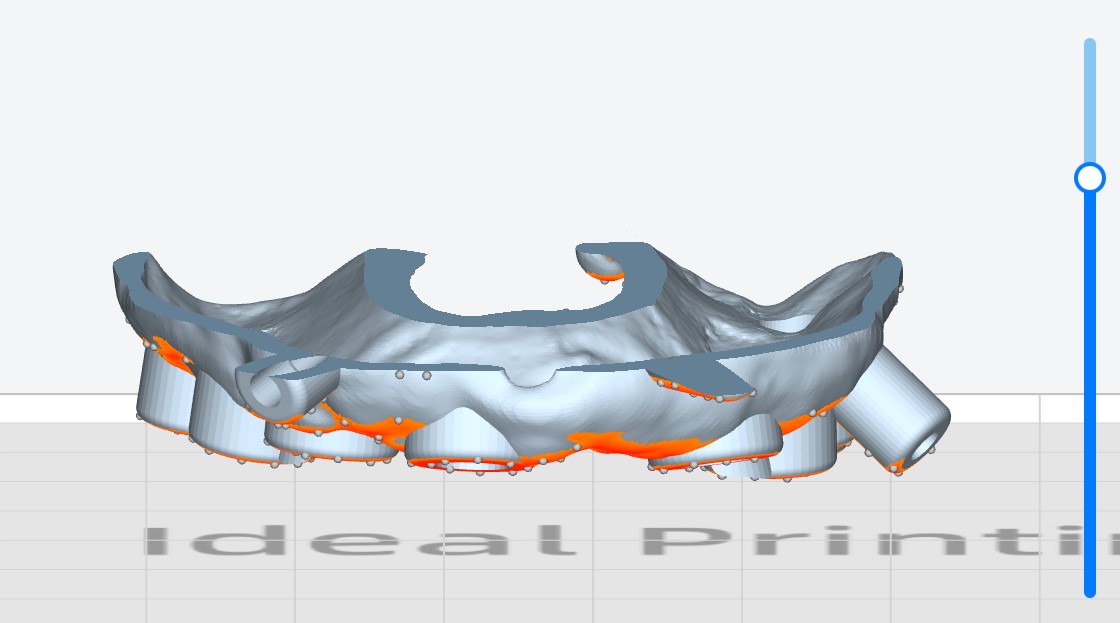
-
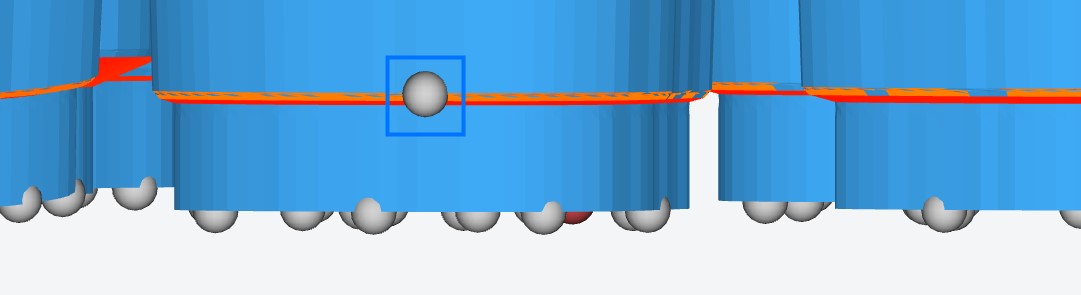
There are some particular surfaces on the model demanding for high smoothness that should not be generated with support, for example, the area contacting with mouth and the outer surface of crown. You should remove support on them by clicking ball shaped contacts.
-
Depending on the situation, you may also need to add supports for compensating the adherence.
You can simply click those red empty area on model for adding supports. Note that the deeper the red, the more the support is needed.

Note
The slicing software provides undo function in manual support mode. Use the keyboard shortcut Ctrl+Z to undo the operation.
-
-
After everything being in place, close manual support popup and click Next at the right bottom to start slicing.