Print Settings
Basic Settings
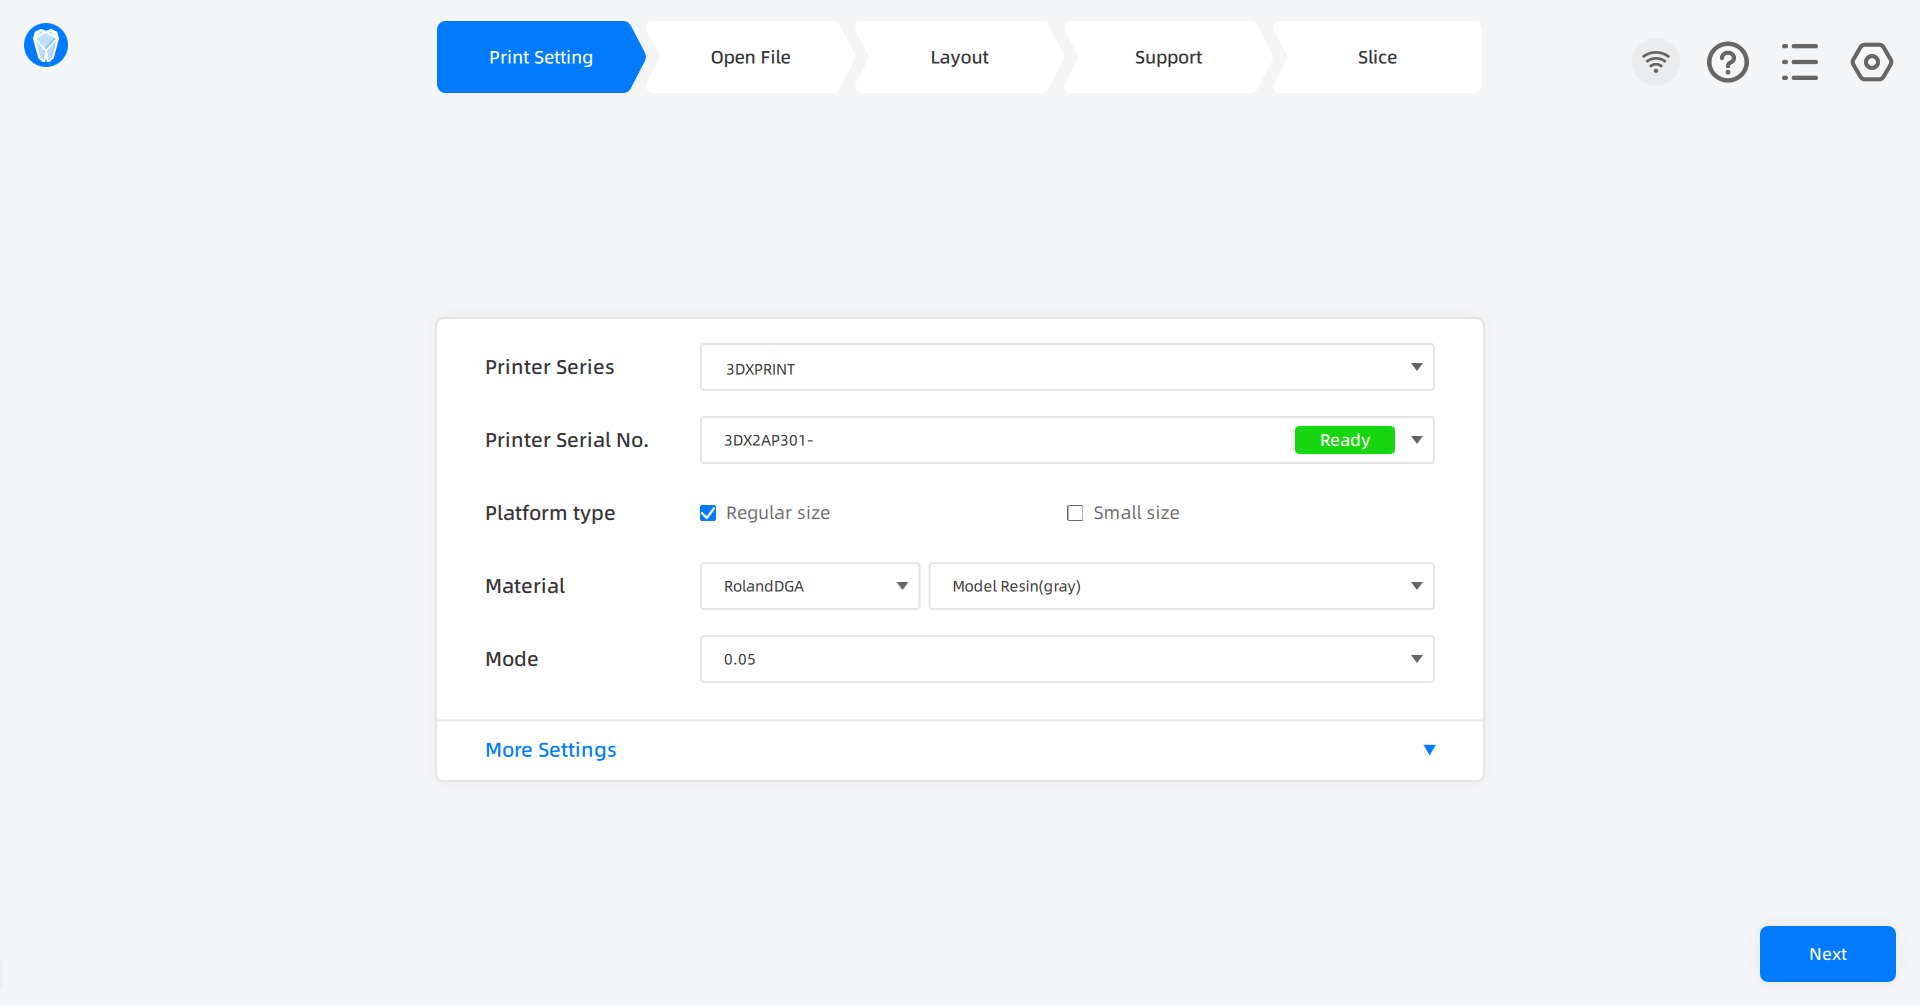
To set up a job:
-
Select Printer Series from the list, and select a printer from the Printer Serial No. list. Then select the Platform Type.
Printer Serial No. list is made up of the virtual printer and printers having been imported.
-
When select the virtual machine, you can try out all the functions except slice.
-
Once you select an imported printer, you can accomplish the whole slicing flow.
Printer Serial No. list displays real time stage to printers. To enable remote operations, always choose the imported machine being Ready for printing.

Please select Platform type as Regular size (as default) or Small size according to the actual situation.
-
-
Set Material as RolandDGA and Layer Thickness as 0.05 for your printing.
More Settings
Click More Settings to view more presets, rotate angle, scale compensation and contour compensation settings to the selected printer are unfolded.
Caution
To prevent affecting the fitment of dies, don't adjust those values without explicit directions.
You can process an accuracy calibration instead to adjust compensation values scientifically for higher printing precision.
After completing selecting parameters, click Next at the right bottom to enter the Open File interface.